
Have you ever noticed your headlights looking cloudy, cracked, or just not as bright as they used to be? Not only can this make your car look older, but it can also put your safety at risk, especially when driving at night or through bad weather.
The good news is that you don’t have to be a car expert to solve this problem. Learning how to replace your car’s headlight assembly is easier than you might think, and it’s a simple way to restore both the appearance and functionality of your vehicle. This step-by-step guide will show you how to confidently handle this project yourself and keep your car looking sharp and driving safely.
Understand What a Headlight Assembly Does
A headlight assembly is a carefully designed system that enables safe driving. Modern headlight units combine the bulb, reflector, lens, and wiring into a single, sealed package. Each part plays a role in delivering bright, focused light that keeps you safe on the road.
The durable outer lens shields the delicate internal components from dust, moisture, and flying debris. Inside, the reflector collects and directs the beam, ensuring you have a clear view of what’s ahead after dark. But when that lens becomes cloudy or cracked, your headlights can quickly lose their effectiveness, making it harder to see and be seen.
That’s why replacing the entire assembly can be so important. Restoring a clear, properly functioning headlight improves your car’s appearance and your safety every time you drive at night or in poor weather.
Gather the Tools and Parts You Need
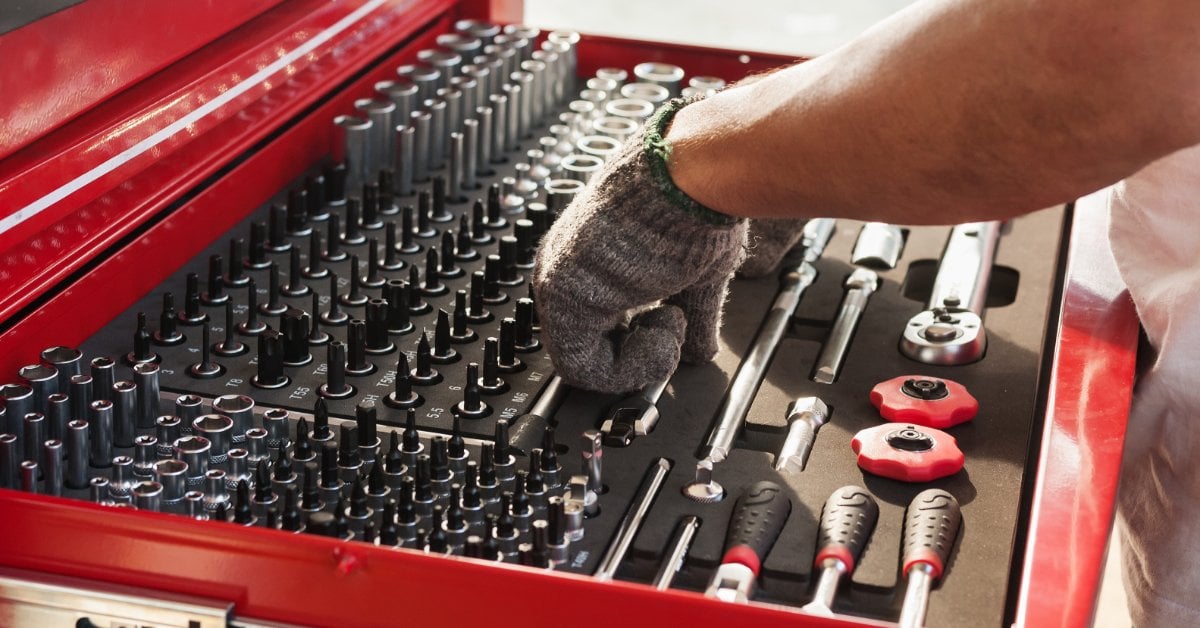
Getting ready is key to making your headlight replacement quick and stress-free. Start by finding the exact replacement assembly that matches your vehicle’s make, model, and year. Most auto parts stores and online retailers offer helpful search tools, so you can be confident you’re ordering the right part.
Before you dive in, gather a few essential tools. The good news is that most drivers already have what they need in their toolbox; no special equipment required!
Here’s what you’ll want to have handy:
- Socket wrench set
- Screwdrivers (Phillips and flathead)
- Work gloves
- Safety glasses
- Replacement headlight assembly
Keeping these essentials within reach helps you seamlessly remove the old headlight assembly and install the new one, saving you time and frustration. You can focus on the task itself, knowing you’re fully prepared for each step along the way.
Step 1: Access the Headlight Housing
Accessing your headlight housing can vary by vehicle, so it’s important to know what to expect. Some cars make things easy by allowing direct access from under the hood, while others might require you to remove trim pieces or the front grille. Checking your owner’s manual or a reliable online guide can help you pinpoint the exact approach for your specific model.
After popping the hood, look for the rear of the headlight assembly. Here, you’ll find wiring connectors and several bolts holding the housing in place. Look closely at how the assembly is mounted and snap a quick photo with your phone for easy reference when you reassemble everything later. This extra step makes reinstallation much smoother!
If your vehicle has plastic covers or trim panels that are in the way, remove them gently and set them aside. Keep all screws, bolts, and clips in a small container so you don’t lose track of any hardware during reassembly. Staying organized will save you frustration and speed up the process.
Step 2: Remove the Old Headlight Assembly
Once you gain access to the housing, begin disconnecting the electrical wiring. Most connectors release with a simple push tab. Press the tab gently and pull the connector straight back to avoid damaging the wiring.
Next, remove the bolts or screws that hold the headlight assembly in place. You can usually remove these fasteners quickly with a socket wrench.
If you run into a stuck fastener, apply a little penetrating oil and let it sit for a few minutes before trying again. Sometimes, tight spaces can make it tricky to maneuver your tools, but staying patient and using the right extension can help you reach awkward bolts.
After removing the fasteners, grip the housing firmly and slide it forward out of the vehicle. Take care when pulling the assembly free. The edges of the housing may catch on surrounding trim pieces, so guide it out slowly. Once removed, place the old unit aside and compare it with the replacement assembly to confirm they match.
Step 3: Install the New Headlight Assembly
Now you’re ready to install the new headlight assembly - a satisfying step that brings you closer to a brighter, safer drive! Start by sliding the replacement unit into the headlight opening and aligning it with the mounting holes. The housing should sit evenly against the vehicle’s frame, so take a moment to check that everything looks straight before moving on.
Next, insert the mounting bolts and tighten them securely with your socket wrench. Be careful not to overtighten them, as too much pressure can crack the plastic housing. If you feel resistance, stop and double-check the alignment to ensure the assembly is properly seated.
Once the unit is secured, reconnect the electrical wiring harness. Push the connector in firmly until you hear or feel it click into place. This ensures the bulb will get power when you switch on your headlights. Before finishing up, gently tug on the connector to confirm it’s locked in.
Once the wiring is set, reinstall any trim panels, covers, or grille pieces you removed earlier. Taking your time during reassembly helps guarantee a snug, factory-like fit and prevents rattles down the road.
Step 4: Test the Headlights Before Finishing

Before you close the hood, make sure your hard work has paid off by thoroughly testing your headlights. Start your vehicle and flip on the headlights to see if they light up right away.
Be sure to check both the low beams and high beams. Walk to the front of your car and confirm that both headlights shine evenly and brightly.
If one seems dim or out of place, a loose connection or a slightly off-kilter housing might be the culprit, so double-check your work. Many vehicles let you fine-tune the angle of your headlights with a simple adjustment screw.
When your headlights are aimed just right, you’ll spot potholes, street signs, and stray animals sooner, and you won’t blind other drivers with stray beams. Taking a few minutes to adjust the aim can turn a routine drive home into a safer, more relaxed trip.
Don’t Forget: Maintain Your Vehicle’s Exterior Appearance
Swapping out a faded headlight assembly instantly gives your car a sharper, more modern front end. Crisp, clear headlights work well with other upgrades, showing that you take pride in your vehicle’s appearance.
Many car owners look at new wheels when they want their ride to stand out. If you keep your wheels clean and your lighting in top shape, your car will make a strong impression wherever you drive.
Shopping for car rims online is a great way to find the right style and finish to match your personality and your car’s design. Pairing great-looking rims with clear headlights keeps your vehicle looking fresh and well cared for, whether you’re cruising through town or parked at a show.
Headlights Restored, Confidence Unlocked
Learning how to replace your car’s headlight assembly gives you the chance to become the hero of your own driveway. With some basic tools, a little time, and this guide in hand, you can tackle the job and immediately see the results every time your headlights shine on the road.
Mastering this assignment gives you the freedom to fix a common problem on your own terms. You can boost your car’s visibility and safety and give your ride that fresh, cared-for look that turns heads at every stoplight.
Taking pride in these small maintenance wins adds up. Whether you’re driving on a dark highway or just admiring your car in the driveway, those clear, gleaming headlights are a reminder of your know-how and attention to detail.