FREE GROUND SHIPPING + ONE-YEAR WARRANTY ON WHEELS
A Comprehensive Guide on How to Safely Change a Tire

It’s everyone’s worst driving nightmare, and when it happens, chances are that you’ll know almost right away. We’re talking, of course, of a flat tire—it will immediately throw off the balance of your car, as well as your steering. In the event of a flat tire, you’ll want to be ready—especially if you’re driving alone, which is the case for over 66% of car trips. Without someone available to give you a hand, you’ll need to equip yourself with the proper knowledge to handle it on your own.
When you find yourself in this situation, we recommend that you know all the steps for not only changing your tire but for doing it safely. If you don’t know where to start, don’t worry. We’ve put together a comprehensive guide on how to execute this process without a hitch.
1. Prepare Your Vehicle
Before you take any sort of trip—even a relatively short one—you should make sure to have the tools that you’d need in case of an emergency. Nowadays, many new cars don’t come with a spare tire. Instead, they come equipped with a tool merely meant to patch them. Unfortunately, this can’t fix every problem, and you need a more reliable emergency kit. Make sure that you always have the following tools in your car:
- A tire
- An impact wrench
- A jack
- A bolt key, depending on the car model
- Gloves
- A flashlight
- A wooden block
- A tire gauge
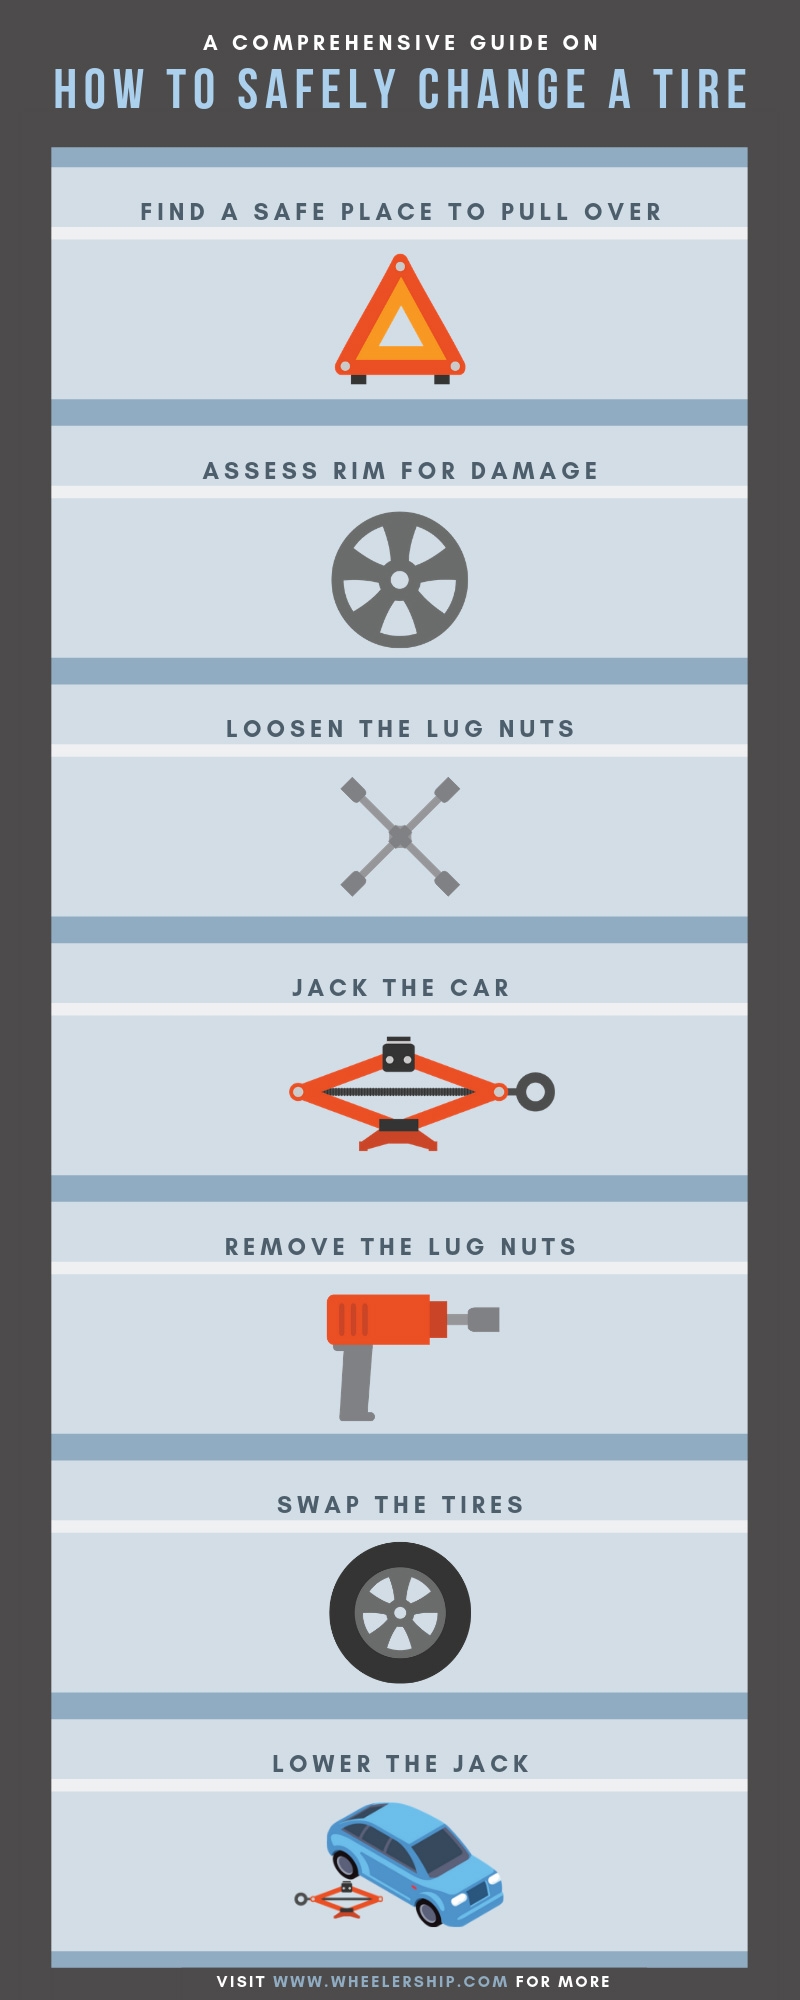
2. Find a Safe Place to Pull Over
Ideally, you would want to pull over in a parking lot. However, if there isn’t one readily available, don’t damage your vehicle further by trying to find one. Pullover onto a flat surface (level ground is extremely important) and be sure that there’s enough room between you and the moving traffic. Shift your car into park and turn on your hazards.
3. Assess Rim for Damage
If the impact that popped your tire was rough enough, your rim may also become bent. If it’s a minor bend, you’re still clear to put on the spare and drive it somewhere nearby to have the problem dealt with immediately. A bent rim can cause a slow leak, so you’ll want to address it right away.
If the damage is substantial, don’t drive on your rim—have it towed instead. A rim that’s significantly bent isn’t safe to drive on and you are at risk for an accident. Replace the part at your earliest convenience. Your mechanic may offer to supply the part himself, but you can order models specific to your vehicle. For example, Toyota Corolla rims are available online for (typically) a more affordable price.
4. Loosen the Lug Nuts
You want to loosen the lug nuts before jacking up your car. However, be careful not to completely remove them. A single counter-clockwise turn with the wrench for each bolt will suffice.
5. Jack the Car
This is where you want to be especially careful, especially if you’ve never changed a tire before. Your car likely weighs at least 2 tons, so be aware that you’re dealing with an impressive amount of mass. The first thing to do (if you can) is to block the wheels to ensure that they won’t roll. As we mentioned earlier, it’s imperative that you park your car on level ground. If you find yourself on hot asphalt, this can cause your jack to push down. To avoid this, we recommend placing a wood block underneath it.
If you’re supporting your car solely with a jack, do not, under any circumstances, go underneath the vehicle. Though you’re unlikely to have to for a tire replacement, if you find yourself in this situation, hold off until you have further stabilizing equipment.
6. Remove the Lug Nuts
Once you properly jack and secure your car, you’ll finish removing the lug nuts. As you did before, turn them counter-clockwise until they’ve released from the wheel. If you’re having trouble removing them, you may have to use a bolt key. Be sure to push the wrench downwards as opposed to up, as this will make them easier to remove. Once you have them off, be sure to put them somewhere you won’t lose them.
7. Swap the Tires
Once you remove the lug nuts, take off the flat tire by holding it with both hands and pulling it toward you. Don’t remove it by applying pressure up or down, as this could potentially cause the jack to move slightly.
Once you’ve got the first tire off, replace it with the spare by lining the tire up with the bolts. After placing it, you can put the lug nuts back in place. Start by screwing them on with your hands, and once you can’t turn them anymore, continue to tighten them with the wrench.
8. Lower the Jack
After you’ve made sure that your spare tire is secure, you can lower your car. Most cars will have a scissor jack. As such, you can lower these by gently turning the handle counterclockwise.
9. Check the Tire Pressure
Once you change your tire and lower your car, be sure to check the tire pressure on the spare. It’s best to have a tire gauge in your vehicle at all times so that you can regularly check that everything is as it should be. Spare tires will oftentimes have low pressure due to long periods of inactivity.
Since you don’t want to drive off a lot with an insufficient amount of air, you should check your spare’s pressure every three to four months. Even if you do this, however, you’ll still want to check the pressure after changing it.
If you have the traditional tire gauge, using it is simple. You’ll want to remove the cap from the tires valve stem and press the gauge against it. If placed with an even force, you’ll be able to collect an accurate reading.
10. Replace the Spare ASAP
Spare tires are lifesavers, but they aren’t meant for long periods of use. Traditionally, they tend to be smaller than the rest of your tires. You should try not to drive faster than 55 mph when using a spare, and you ideally don’t want to drive it farther than 30 miles before having it replaced.
Hopefully, you or a mechanic will be able to patch the tire that blew out. In the case that it’s irreparable, you don’t want to wait to invest in a new one. Once you fix or obtain a new main wheel, remember to fill your spare up with air. You’ll want to ensure that it’s in proper driving condition before returning it to the back of your car.

